

How to Add Auto Captions in CapCut (2026): Mobile, PC & Web
CapCut’s automatic caption tool can turn spoken audio into timed subtitles in a few clicks, which is useful for TikTok, Reels, Shorts, tutorials and talking-head videos. In 2026, CapCut supports auto captions on mobile, desktop and the web editor, although menus and advanced options can vary by platform, region and app version.
This guide shows how to add auto captions in CapCut, edit mistakes, improve accuracy, style subtitles and fix common problems.
Table of Contents
- What Are CapCut Auto Captions?
- How to Add Auto Captions in CapCut on Android and iPhone
- How to Add Auto Captions on Windows and Mac
- How to Add Auto Captions in CapCut Web
- How to Edit and Style Auto Captions
- How to Improve Caption Accuracy
- CapCut Auto Captions Not Working: Fixes
- Can You Import SRT Subtitles?
- FAQ
What Are CapCut Auto Captions?
Auto captions use speech recognition to convert dialogue into subtitle blocks that are synchronized with your video. CapCut calls the feature Auto Captions and, in some interfaces, Recognise Subtitles. According to CapCut’s official help center, the core feature is available on CapCut Web, Windows/macOS and the iOS/Android app.
After generation, you can review the transcription and change the words, timing and visual style. This matters because automatic transcription can mishear names, accents, technical terms or speech recorded over loud music.
How to Add Auto Captions in CapCut on Android and iPhone
- Open CapCut and create or open a project.
- Add your video to the timeline and make sure its spoken audio is audible.
- Tap Captions in the bottom toolbar. On some versions, the option may appear under Text.
- Choose Auto Captions.
- Select the spoken language and the appropriate audio source.
- Tap Generate or Start.
- Wait for CapCut to analyze the audio, then preview the generated subtitle blocks.
If CapCut is difficult to access in your region, see our separate guide on how to download CapCut in India. Availability can vary, so use official stores and verified sources whenever possible.
How to Add Auto Captions in CapCut on Windows and Mac
- Open CapCut Desktop and import your video.
- Drag the clip to the timeline.
- Open the Captions section and choose Auto Captions.
- Select the audio source and spoken language.
- Click Generate or Recognize.
- Review the caption track that CapCut creates on the timeline.
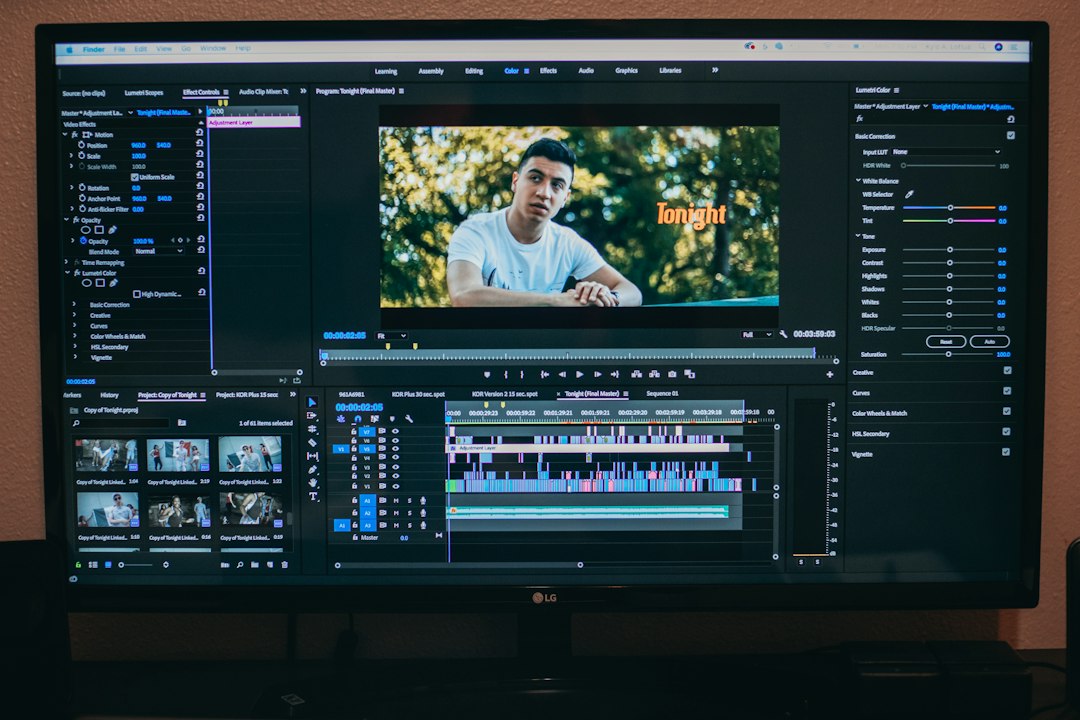
Desktop editing is especially convenient for longer projects because the larger timeline makes it easier to correct timing and split caption segments. Some advanced caption options can differ by region or version, so do not be surprised if your interface looks slightly different from screenshots in older tutorials.
How to Add Auto Captions in CapCut Web
You can also create captions without installing the desktop app:
- Open the CapCut web editor and load your project.
- Open Captions from the left panel.
- Select Auto Captions.
- Choose the language and click Generate.
- Click a generated caption to correct its text, timing or style.
CapCut’s official troubleshooting guidance recommends a stable internet connection because caption generation can depend on cloud processing. For browser-based editing, CapCut specifically suggests Chrome or Edge when troubleshooting failed caption generation.
How to Edit and Style Auto Captions
Never assume the first transcription is perfect. Play the video from beginning to end and compare every caption with the spoken audio. Correct names, punctuation, numbers and brand terms first.
If one subtitle contains too many words, split it around a natural pause. Shorter caption blocks are usually easier to read on a phone screen. You can then adjust font, size, position, effects and animation. If you want more control over typography, our CapCut fonts guide explains how to download and customize fonts, while the CapCut text guide covers manual text layers.
How to Improve CapCut Auto Caption Accuracy
- Use clean dialogue: Reduce loud music, room echo and background noise before generating captions.
- Select the correct language: A wrong language setting can produce inaccurate text or no usable transcription.
- Avoid overlapping speakers: Clear single-speaker audio is easier for speech recognition to process.
- Slow down very fast speech: Rapid delivery can increase transcription errors.
- Check names and jargon manually: Proper nouns and niche terms are common failure points.
- Regenerate after cleaning audio: If many lines are wrong, mute distracting tracks and run auto captions again.
If you are building a social edit with a soundtrack, add captions before finalizing the music balance. Our guide on adding music to CapCut can help you keep dialogue and music organized.
CapCut Auto Captions Not Working: Quick Fixes
1. Check the audio track
Make sure the clip actually contains audible speech and that the relevant track is not muted. Very low volume, distortion or heavy background noise can prevent reliable recognition.
2. Confirm the language
Choose the language being spoken in the video. If the selected language is wrong or unsupported in your version, generation may fail or produce poor results.
3. Check your connection
CapCut notes that auto captions can rely on cloud processing. Switch to a stable connection and retry if generation stalls.
4. Update or restart CapCut
An outdated app or temporary glitch can interfere with caption generation. Save the project, restart CapCut and install the latest official update available for your device.
5. Regenerate the captions
If only a few words are wrong, edit them manually. If most of the transcription is inaccurate, delete the caption track, reduce background music or effects, and generate it again. CapCut’s official auto-caption troubleshooting page lists poor audio, wrong language settings, unstable internet, muted audio and outdated software among common causes.
Can You Import SRT Subtitles Into CapCut?
Yes, but platform support differs. CapCut’s 2026 help documentation says external subtitle import is available on Desktop and Web, while the mobile app does not directly import subtitle files. CapCut Web supports SRT files; Desktop supports subtitle import with options that may vary by version. See the official subtitle import guide for current platform details.
Importing an SRT file is useful when you already have professionally corrected subtitles, need a language that auto captions handles poorly, or want to prepare captions in another transcription tool before styling them in CapCut.
Auto Captions vs. Manual Text
Use auto captions when your video contains continuous speech and you need speed. Use manual text when you are creating short hooks, labels, callouts or highly designed on-screen copy. You can combine both methods in the same project. For a broader look at editing tools, see our guide to CapCut features.
Frequently Asked Questions
Are CapCut auto captions free?
CapCut offers automatic caption functionality across its main platforms, but specific features, limits or premium styling options can change by version, region and plan. Check the current interface before relying on a particular premium feature.
Why are my CapCut auto captions inaccurate?
Common causes include background noise, fast speech, accents, overlapping speakers, low-quality audio and an incorrect language selection. Clean the dialogue track and regenerate the captions, then manually correct remaining errors.
Can I edit CapCut auto captions after they are generated?
Yes. CapCut lets you edit generated caption text and timing, and you can customize appearance such as font and style. The exact controls vary between mobile, desktop and web.
Can CapCut translate auto captions?
CapCut offers multilingual and translation-related caption tools in some versions and regions. Availability can vary, so check the caption options in your current app or web editor.
Can I import an SRT file on CapCut mobile?
According to CapCut’s 2026 help documentation, direct subtitle-file import is available on Desktop and Web, not the mobile app. A practical workaround is to import the subtitles on Desktop or Web and then continue editing through a synced project when that workflow is available to your account.
Final Tips
The fastest workflow is simple: generate captions from the cleanest dialogue track, proofread every line, split long subtitles, apply one consistent style and preview the entire video before export. Auto captions can save significant editing time, but a quick human review is still essential for names, punctuation and timing.


